This is the third of eight tasks described in this user manual for modifying a booking itinerary.
NOTE: There is no particular order in which tasks need to be completed - the numbering is simply for reference.
The full list is:
- Pickup / Dropoff
- Voucher Text
- Service Notes (this task)
- Product Notes
- PCM Management Groups
- Change Travel Date
- Manage Days
- Insert Booking
The Service Notes screen allows notes specific to this service, in this booking to be entered.
The notes entered here can be output on messages; e.g. Agent Confirmation, Vouchers and Supplier Requests etc.
Insert or Update Service Notes
Make sure you have a booking displayed in Itinerary View.
- Search for and retrieve a booking to work with. If you haven't done this already, see Retrieve an Existing Group Booking.
-
Switch to the
 Itinerary View of the booking via menu Groups > Itinerary.
-
The default view for a Booking is theDashboard view.
-
A single service can be opened from the Dashboard by clicking on the service. Alternatively, switch to Itinerary view by selecting, from the Groups menu,Groups > Itinerary.
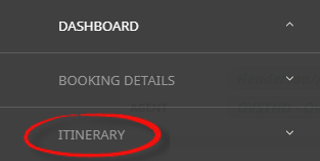
- Click the Groups hamburger menu to open it:

- Click the Itinerary menu option to show the itinerary for this booking:

- Click the Groups hamburger menu to open it:
-
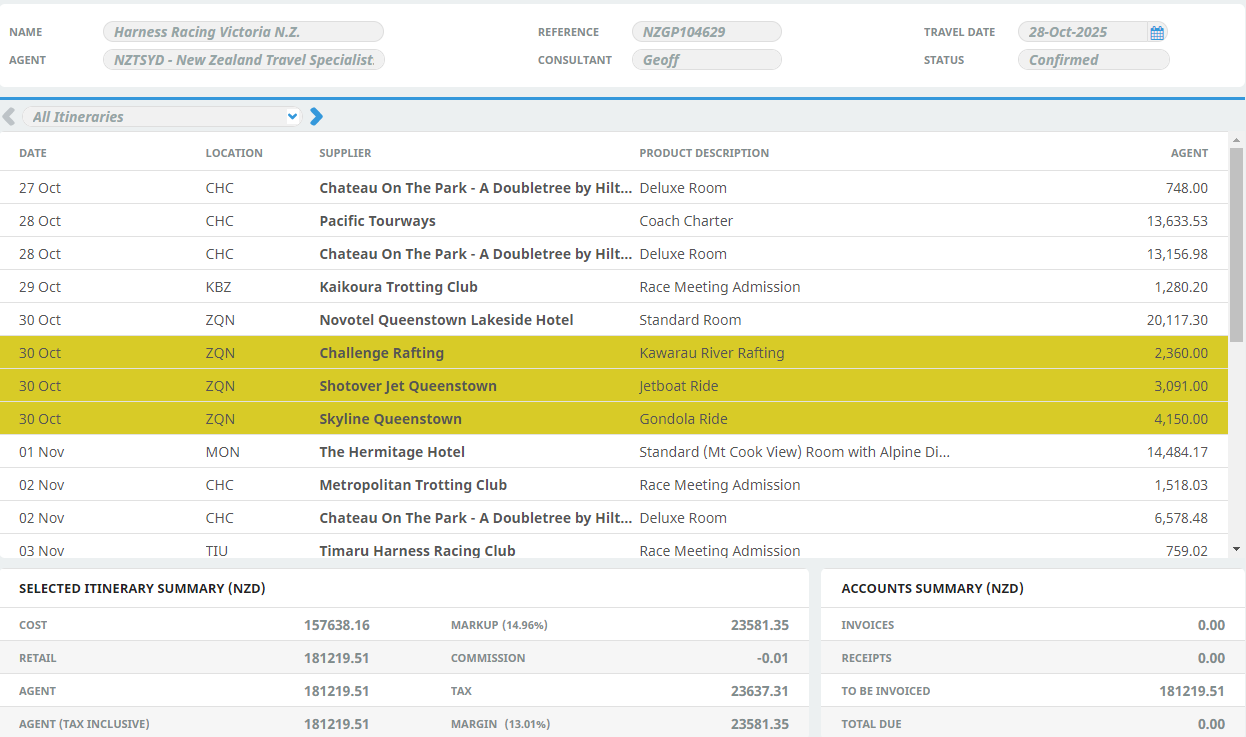
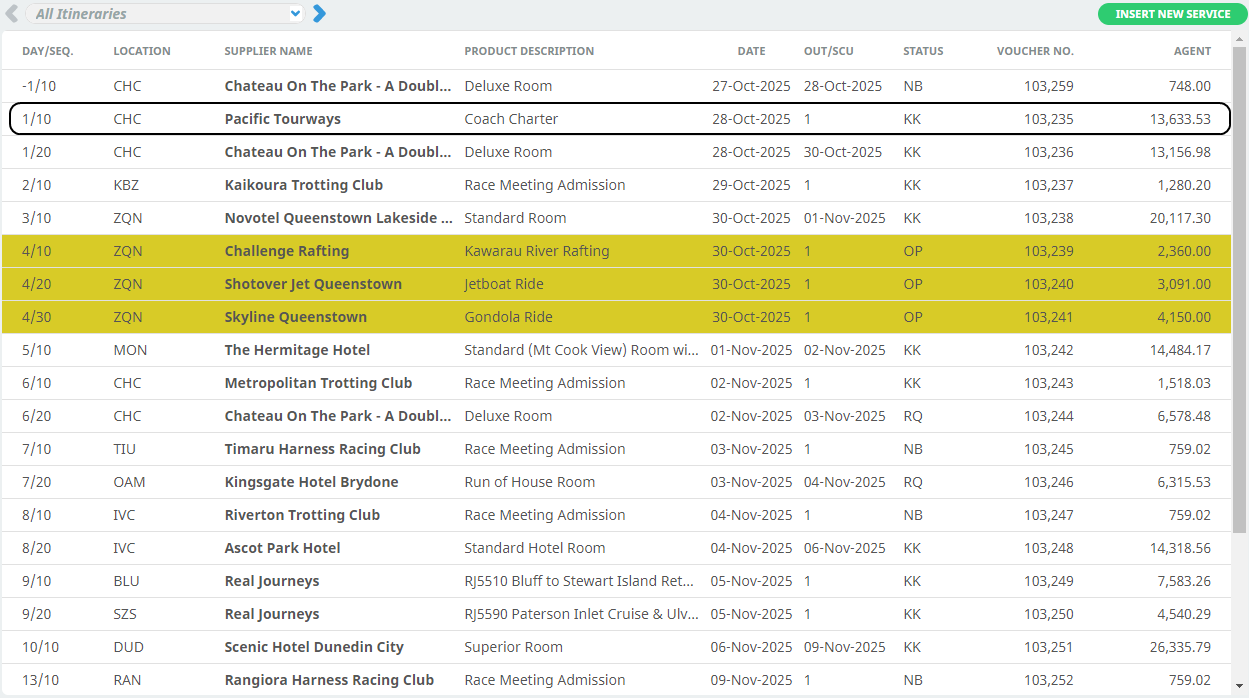
Examine theItinerary on this screen.
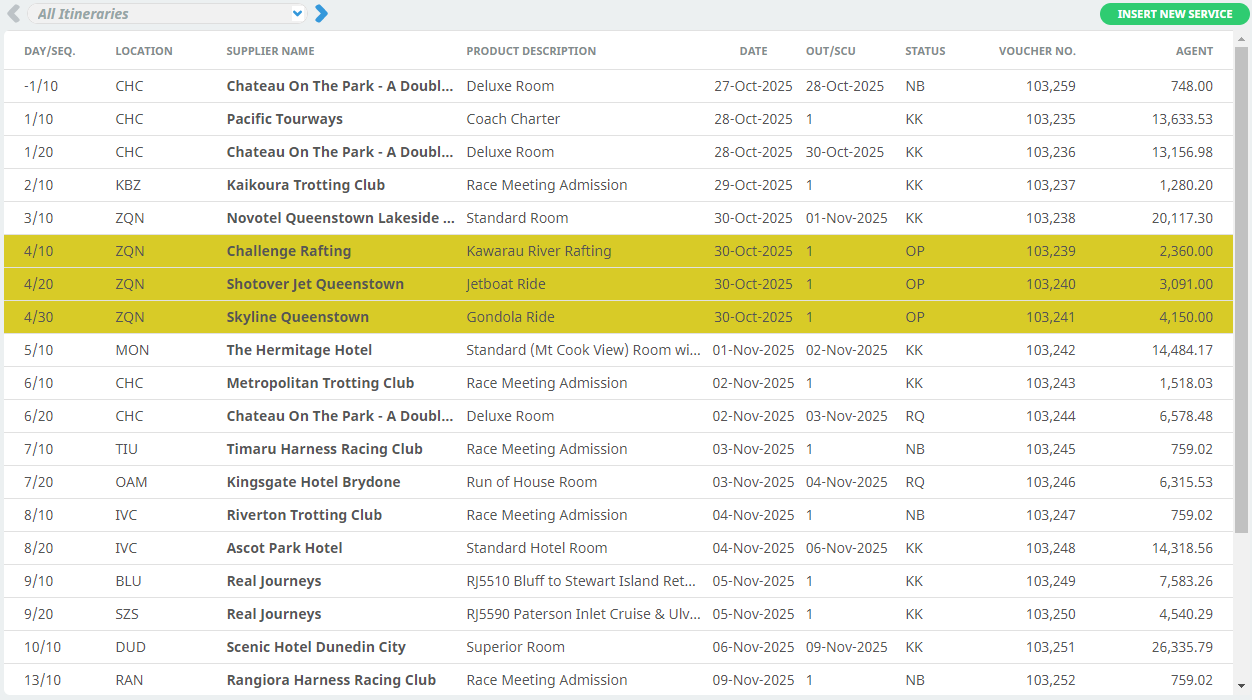
NOTE: The service lines shown in the example Itinerary above cover all services for all itineraries. To see which services apply to which itineraries, select an itinerary from the drop-down menu at the top left of the list (currently showing All Itineraries).
-
-
There are two ways to change note text from the Itinerary view:
- Change or View Note via the Groups Menu:
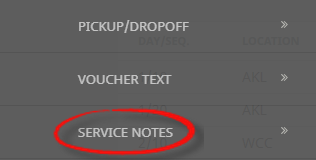
- Select menuGroups > Itinerary > Service Notes.
- Click the Groups hamburger menu to open it:
- Click the PCM Quotes hamburger menu to open it:

- Click the Itinerary menu option to expand it:
- Click Service Notes to add or modify notes about service lines attached to the booking:

- Click the Groups hamburger menu to open it:
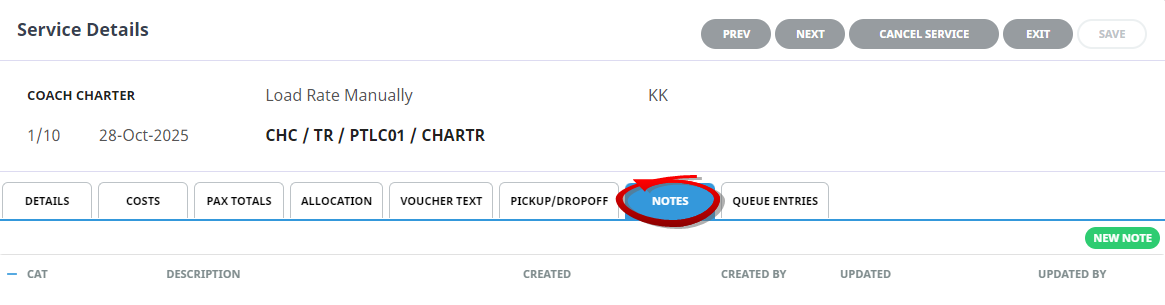
- From the list of services, identify theservice line that is to have a new note added.
- Change Service Note details via the service line drill-down
- Select theservice line whose details you want to change to open the Service Details screen.
- Click theNote tab.
- Change or View Note via the Groups Menu:
-
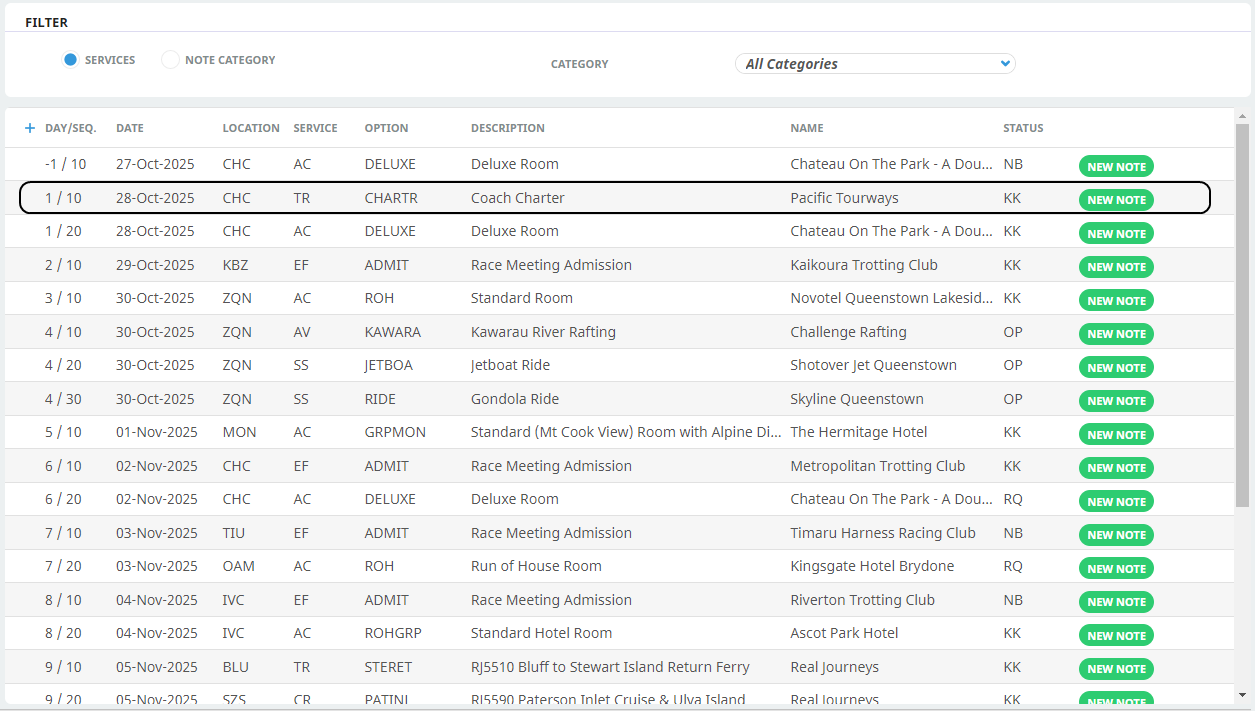
To add a note for a service, clickNew Note alongside the service.

-
On theService Notes screen, select a Category Type from the drop-down and enter the text of the note as illustrated in the example.
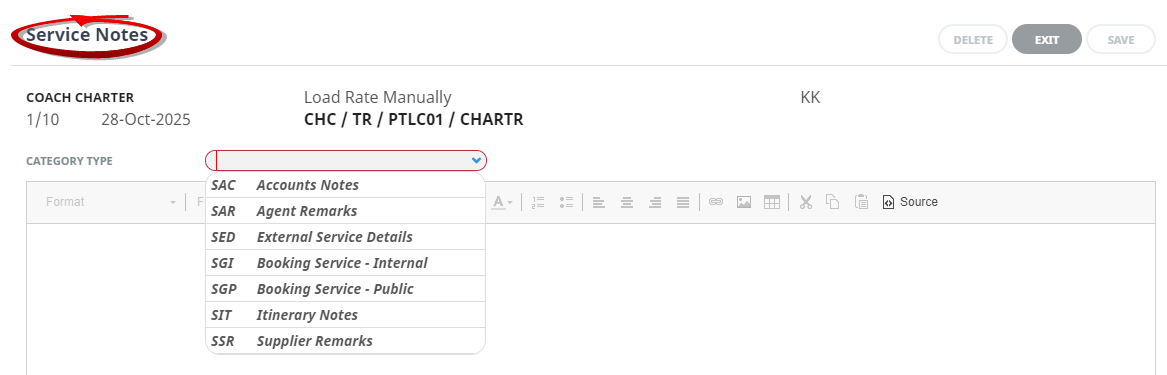

Once details are entered, click Save to keep the note and return to the list, otherwise, click Exit.


NOTE:
- The service note inserted in the example above is an internal note, which will not be output on any documentation.
-
There could be many more categories of Service Notes – for example, one for general information; one for accounts information; one for additional itinerary information. By clicking on each of these categories, the notes that have previously been entered (if any) for the service can be viewed.
- Unlimited text can be added under each category. A Date and Time stamp will be attached to each Note, reflecting the last time it was updated.
(see System Setup User Manual Messaging > Notes).
Service Note Filtering
The Service Note filter is defaulted with the Services button checked. Filtering by Service allows a full list of all notes attached to each product to display on screen.
A filter can be applied to target and display a specific Note Category. This is useful for consultants who may want to view or insert a series of service notes with information saved for a particular Note Category.
-
Filtered note entries can be can be viewed service by service using the dropdown arrow. The note expands for users and longer note entries can be viewed using the scroll bar provided.
-
Alternatively, users can open the Product Note screen to view the full note entry when selecting the magnifying glass icon.
-
Selecting the + icon next to the Category will expand notes for all services.